Tutorial: Web Services Loadbalancing in the Amazon Cloud Using Membrane
In this tutorial we will first deploy copies of the same Web service on different instances within the Amazon cloud. We then register another instance with the Membrane Router to act as a loadbalancer. For simplicity we will use pre-configured AMIS images for the instances. The routing will be configured using Membrane's Web Console. Finally we will test the Web services with soapUI.
Starting the Web Service Nodes
Login to the AWS console
Create an EC2 instance. Use the AMIS image with the following id:
ami-6552940c
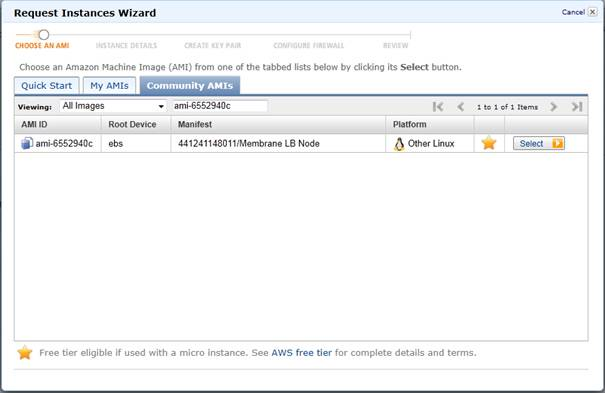
Figure1:
The Membrane LB Node AMIS Image Use an instance type of your choice with default disk settings.
Set the tag name to Membrane LB Node 1
Use a security group that has the port 8080 open.
After you have started the instance, check if the Web service is running, and open the following URL:
http://AMIS_PUBLIC_DNS_NAME:8080/prims?wsdl
Substitute the host name with the public DNS name of the instance.
Finally create two additional instances like the one above. Use appropriate tag names like Membrane LB Node 2-3.
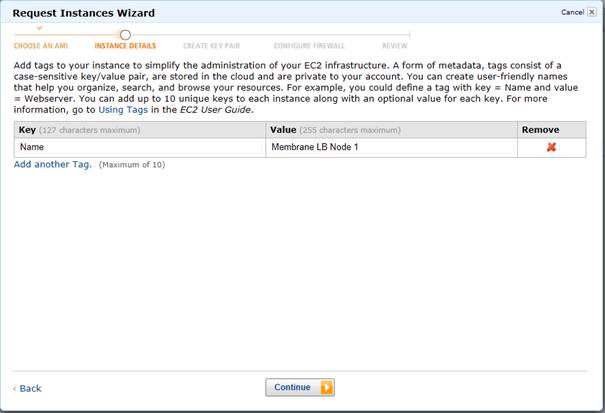
Figure2:
Starting the Loadbalancer
Create a EC2 instance. Use the AMIS image with the following id:
ami-f969af90
Use an instance type of your choice with default disk settings.
Set the tag name to Membrane LB
Use a security group that has the ports 80, 9000 and 9010 open.
After you have started the instance, open the Web console at the following URL:
http://AMIS_PUBLIC_DNS_NAME:9000/admin
Substitute the host name with the public DNS name of the instance.
Login with username admin and password membrane
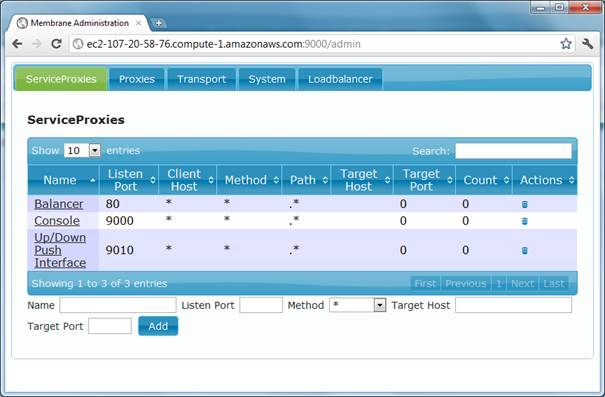
Figure4:
Web Console
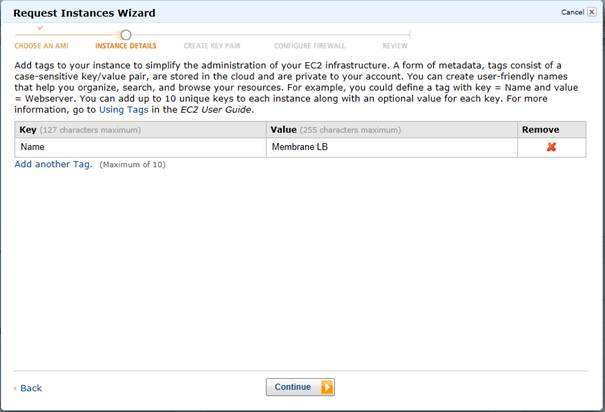
Figure3:
Configuring the Default Cluster
On the Web console click on the tab Loadbalancer and then on the link Default.
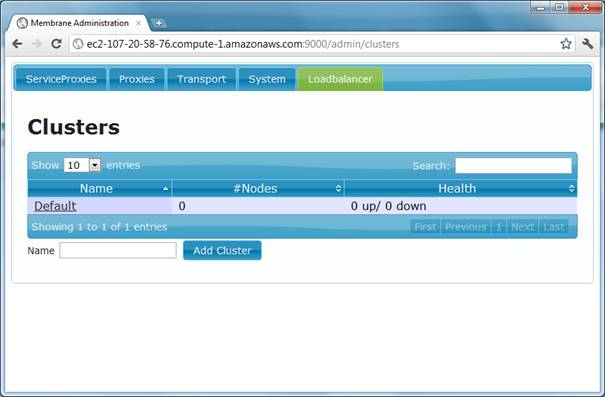
Figure5:
Web Console Clusters Create a new node. Use the private DNS name of a node instance as host with port 8080.
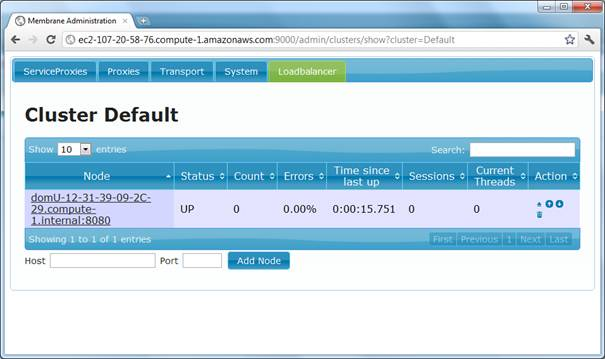
Figure6:
Default Cluster Create two additional nodes for the remaining two node instances.
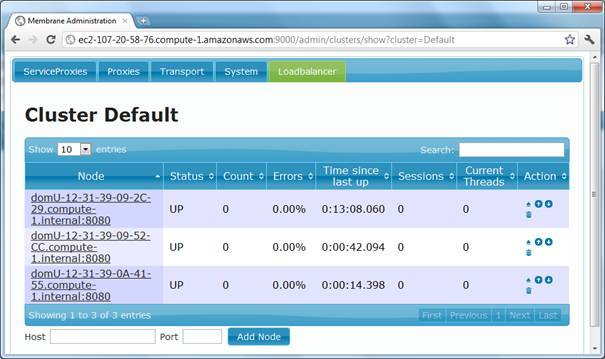
Figure7:
Default Cluster with 3 Nodes
Testing with soapUI
Open soapUI and create a new project with the following WSDL:
http://AMIS_PUBLIC_DNS_NAME/prims?wsdl
Use the public DNS name of the instance (E.g Membrane LB) where the membrane router is running.
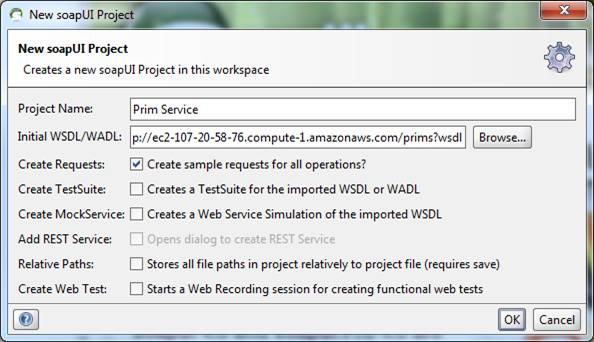
Figure8:
SoapUI Project for the Prim Service Create a request like the following:
					<soapenv:Envelope xmlns:soapenv="http://schemas.xmlsoap.org/soap/envelope/"
					  				     xmlns:ns="http://membrane-soa.org/lb/1/">
					   <soapenv:Header/>
					   <soapenv:Body>
						  <ns:countPrims>
							 <n>100000</n>
						  </ns:countPrims>
					   </soapenv:Body>
					</soapenv:Envelope>
Listing 1: Example Request for the Prim ServiceRun a load test.
Take a look at the call statistics of each node using the Web console.
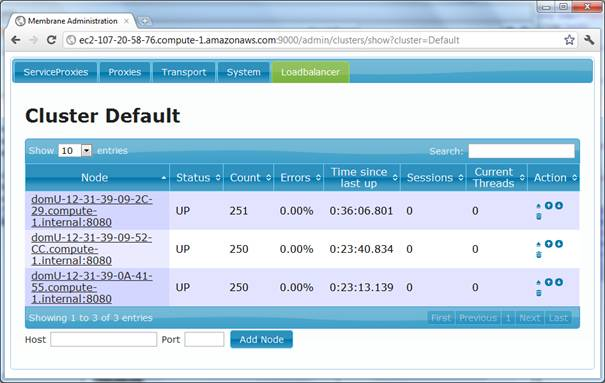
Figure9:
Cluster Statistics
Congratulations, you have set up a Web Services cluster in the Amazon Cloud!
Next Steps
You can find a list of all configuration features here.